
SVG Lab ✨
Turn a PNG or JPEG into a clean SVG. Upload an image, set how much detail to keep and how smooth the edges should be, download a vector your cutting machine or design software can read.
✨ How to use the SVG Lab
1. Upload your image
Drop in a PNG or JPEG. Flat artwork with clear edges traces best. A photo will still work, it just gives you more shapes to tidy up afterwards.
2. Set the detail
Detail decides how much of the original survives the trace. Push it up for fine linework and small text, pull it down for bold shapes and far fewer points to cut.
3. Smooth and simplify
Smoothing rounds off the stair-stepping a pixel image leaves along a curve. Simplify drops the points you do not need, so the file stays light and the blade runs cleanly instead of chattering.
4. Choose your colours
Leave colours on auto and the lab reads them straight out of your image. Set the number yourself for a flatter, more graphic result, which is usually what you want for layered vinyl.
5. Download your SVG
Open it in Cricut Design Space, Silhouette Studio, Illustrator or Affinity. It is a real vector, so you can scale it as far as you like and every edge stays sharp.
Design tools

Proof Lab
Upload your artwork, set the size and border, download a proof.
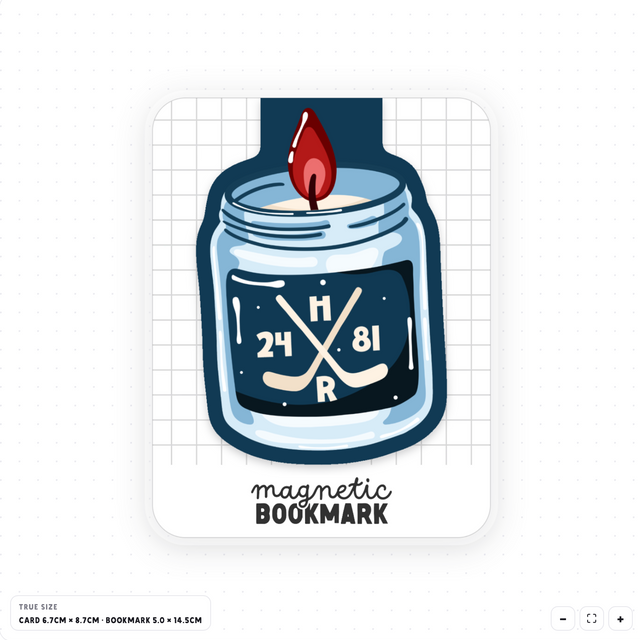
Magnetic Bookmark Designer
Upload your artwork, set the fold and bleed, download a print-ready bookmark.
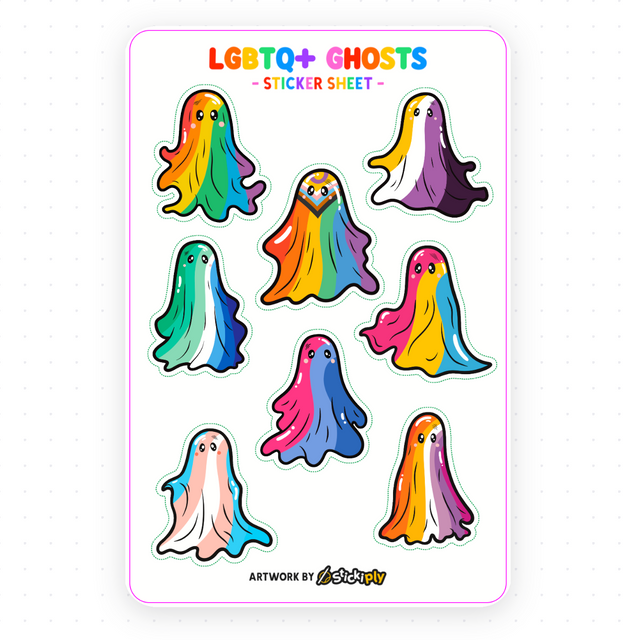
Sticker Sheet Lab
Lay out as many designs as you like on one sheet, with kiss-cut lines and bleed.
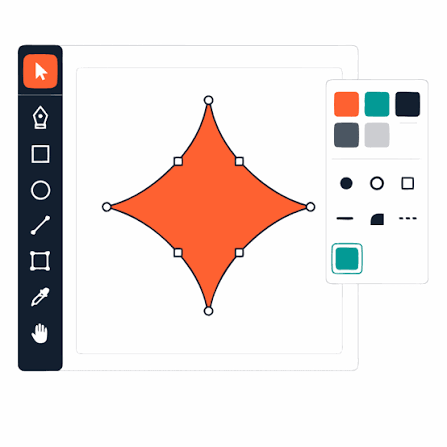
SVG Lab
Turn a PNG or JPEG into a clean SVG cut file. Runs in your browser.