

Self-Adhesive & Thermal Laminating Sheets
Protect your stickers, prints and bookmarks with professional-grade laminates. Self-adhesive sheets in eight finishes plus thermal pouches for magnetic bookmarks, backing cards and photo prints.
✨ Learn about our Laminating Sheets & Pouches

What is self-adhesive laminate?
A peel-and-stick clear film with permanent acrylic adhesive. Apply by hand, roller or cold laminator over your printed stickers and prints for UV protection, water resistance and a professional finish.

What are thermal pouches for?
Heat-activated pouches that seal around both sides of your print. Pair with our double-sided photo paper to make rigid magnetic bookmarks, backing cards and flat bookmarks that feel premium.
Which laminate is right for you?
Tap a finish to see what it's best for.
GLOSS
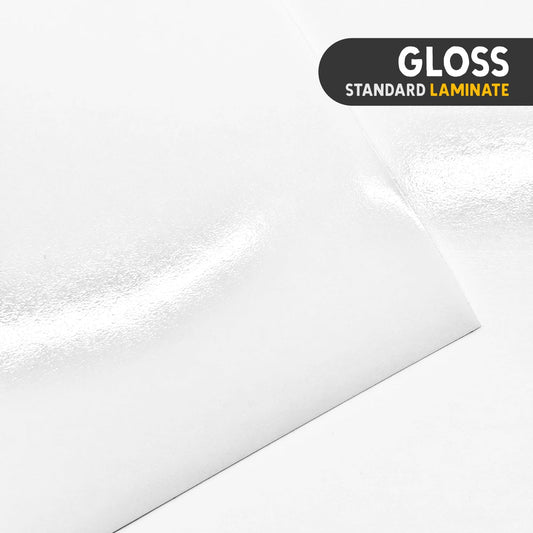
The classic finish. Clear, shiny topcoat that enhances colour and contrast underneath. UV-protective, water-resistant and adds scratch protection. Best for product stickers, packaging labels and anything that benefits from a high-shine professional look.
GET GLOSSMATTE
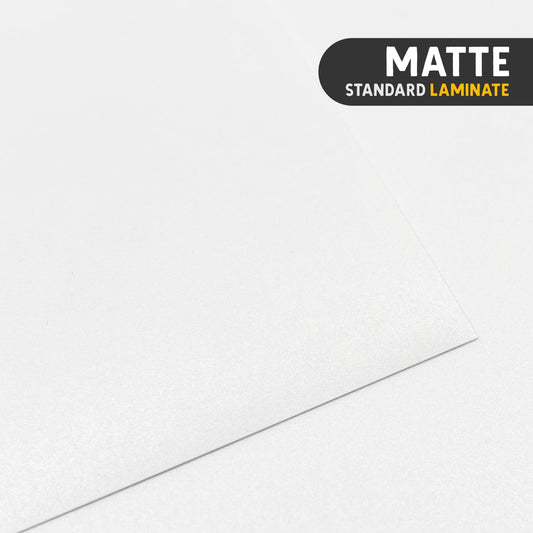
A glare-free, soft-touch textured finish. Hides fingerprints, reduces reflection and gives a premium tactile feel. UV-protective and water-resistant. Best for planner stickers, bookmarks, minimalist labels and anything handled often.
GET MATTEHOLOGRAPHIC
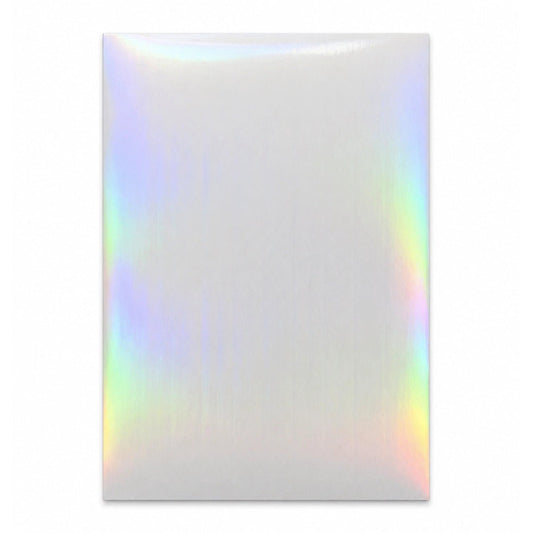
Add a rainbow shimmer over any printed design. Shifts colour as it catches the light, turning a standard sticker into something eye-catching. Note: some cutting machines struggle to read registration marks through holographic laminate, test a sheet first.
GET HOLOGRAPHICGLITTER
All-over sparkle effect that sits on top of your design. The glitter finish mattifies the surface underneath, so dark backgrounds and solid colours work best. Water-resistant with UV protection. A market-stall favourite for stand-out sticker sheets.
GET GLITTERLEATHER
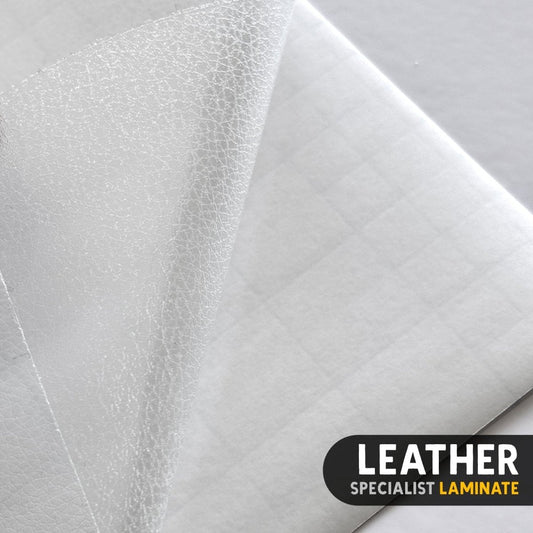
A subtle grain texture across the surface that mimics the look and feel of fine leather. Anti-glare, premium-feeling finish. Best for luxury branding, high-end stationery, journals and product labels on premium packaging.
GET LEATHERCROSS-HATCH
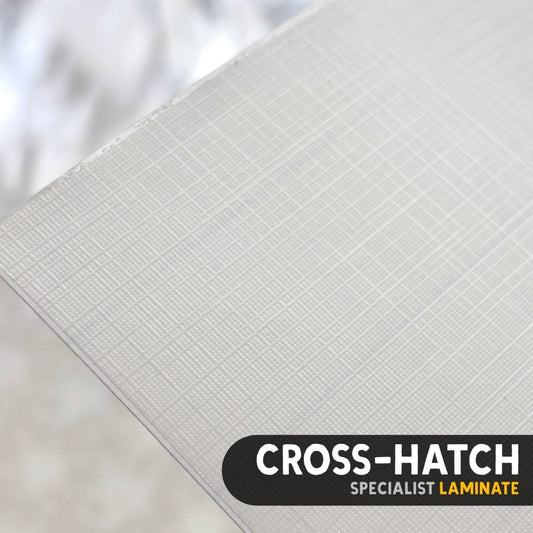
A woven linen-style texture that adds tactile interest without overwhelming the design underneath. Anti-glare, premium feel. Best for wedding stationery, invitations, bookmark covers and anywhere you want a refined textured surface.
GET CROSS-HATCHCAT EYES
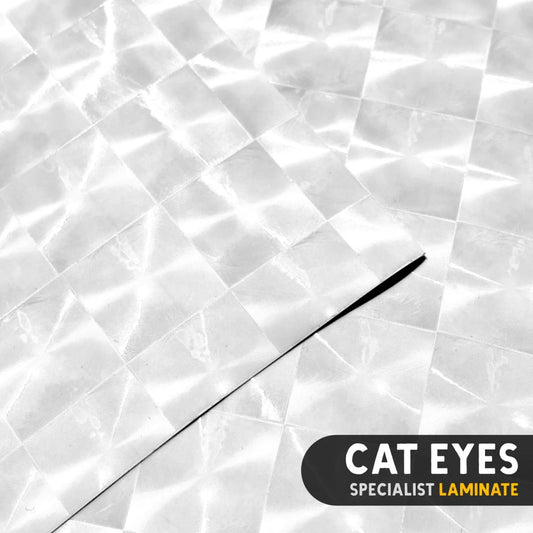
A specialist holographic-style finish with fine elliptical reflections that shift across the print as you tilt it. More subtle than full holographic, more visually striking than standard gloss. Best for sticker sheets, decorative labels and bookmark covers.
GET CAT EYESSEASONAL
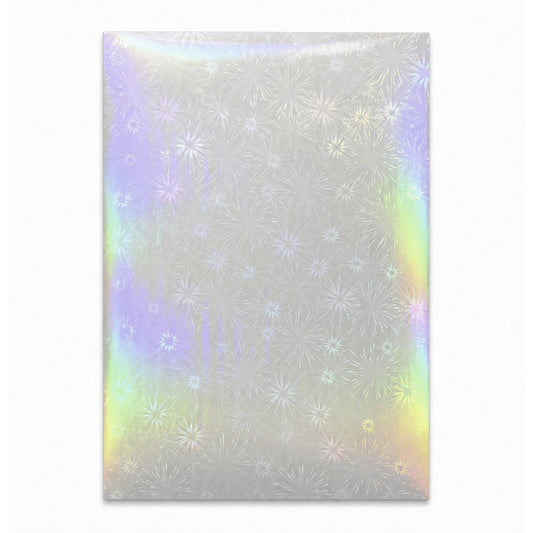
Themed specialist laminates that rotate through the year. Snowflakes, hearts, stars and seasonal patterns layered over your print. Limited runs. Best for holiday stickers, Valentines cards, Christmas labels and any seasonal product line.
GET SEASONALMATTE POUCH
Thermal laminating pouches with a matte finish. Heat-activated, sealed on both sides. Requires a thermal laminator. Pair with our double-sided photo paper for magnetic bookmarks, backing cards and flat bookmarks that feel soft-touch and glare-free.
GET MATTE POUCHGLOSS POUCH
Thermal laminating pouches with a high-shine gloss finish. Heat-activated, sealed on both sides. Requires a thermal laminator. Our studio standard for magnetic bookmarks and backing cards that need maximum colour punch and a premium sheen.
GET GLOSS POUCH-
Matte Self-Adhesive Laminate | Basics
Vendor:STICKIPLYRegular price From £3.95Regular price£3.95Sale price From £3.95 -
Gloss Self-Adhesive Laminate | Basics
Vendor:STICKIPLYRegular price From £3.95Regular price£3.95Sale price From £3.95 -
Matte Self-Adhesive Laminate | Pro UV
Vendor:STICKIPLYRegular price From £4.95Regular price£5.50Sale price From £4.95Sale -
Gloss Self-Adhesive Laminate | Pro UV
Vendor:STICKIPLYRegular price From £4.95Regular price£5.50Sale price From £4.95Sale -
Holographic Self-Adhesive Laminate (A4)
Vendor:STICKIPLYRegular price From £4.05Regular price£4.50Sale price From £4.05Sale -
Seasonal Holographic Self-Adhesive Laminate (A4)
Vendor:STICKIPLYRegular price From £4.50Regular price£4.50Sale price From £4.50 -
Glitter Self-Adhesive Laminate (A4/A3)
Vendor:STICKIPLYRegular price From £5.20Regular price£6.50Sale price From £5.20Sale -
Cat Eyes Self-Adhesive Laminate (A4)
Vendor:STICKIPLYRegular price From £4.05Regular price£4.50Sale price From £4.05Sale -
Leather Self-Adhesive Laminate (A4)
Vendor:STICKIPLYRegular price From £4.05Regular price£4.50Sale price From £4.05Sale -
Cross-Hatch Self-Adhesive Laminate (A4)
Vendor:STICKIPLYRegular price From £4.05Regular price£4.50Sale price From £4.05Sale -
Self-Adhesive UV Laminate | Roll
Vendor:STICKIPLYRegular price From £45.00Regular price£45.00Sale price From £45.00 -
Glossy Laminating Pouches (150micron)
Vendor:STICKIPLYRegular price From £2.50Regular price£2.75Sale price From £2.50Sale -
Matte Laminating Pouches (150micron)
Vendor:STICKIPLYRegular price From £3.25Regular price£3.25Sale price From £3.25 -
Self-Adhesive Laminate | Roll Off-cuts
Vendor:STICKIPLYRegular price £1.50Regular price£1.50Sale price £1.50


Frequently Asked Questions
Real answers from our print floor. No vague craft-blog fluff.
🆚 What's the difference between self-adhesive laminate and thermal laminate?
Self-adhesive laminate is peel-and-stick. No machine, no heat. Line it up by hand and smooth it down with a squeegee, ruler or old bank card.
Thermal laminate needs a laminator. Heat and pressure seal a pouch or film around your print for a fully enclosed finish.
For sticker makers, self-adhesive is faster, cheaper and works with your existing cutting workflow. Thermal is better for protecting documents, menus and heavy-use printed items.
🛠️ Do I need a laminator machine?
No, not for our self-adhesive laminating sheets. Peel back a small section at the top, align the exposed edge, then pull the backing away slowly while smoothing the laminate down.
Yes, for thermal laminating products like our matte thermal pouches and gloss thermal pouches. Thermal laminate only works properly with heat and pressure from a laminator machine.
New to laminating? Start with self-adhesive. Lowest friction, no machine required, and no chance of jams.
🎯 Which is better for stickers, self-adhesive or thermal?
Self-adhesive, for most sticker makers.
It applies cold, so it works into a print-then-cut workflow easily. You laminate the sheet, then run it through your Cricut, Silhouette or Siser. Thermal pouches seal around the edges which breaks die-cutting workflows.
Thermal is better for sealed cards, menus, instruction sheets and anything you want fully enclosed in plastic.
💧 Does laminating make stickers waterproof?
It makes them water-resistant, scratch-resistant and better protected against UV fading and general wear.
That does not mean dishwasher-safe or microwave-safe. Even laminated stickers last longer with hand-washing only.
For water bottles, drink tumblers, outdoor signs and product labels, laminate is one of the most cost-effective upgrades you can make.
🌤️ Will laminate stop my stickers fading in sunlight?
It slows fading significantly. Our UV gloss and matte self-adhesive laminates block a large portion of UV rays, which is what causes ink to fade on unlaminated stickers.
For indoor use, laminated stickers will look the same for years. For outdoor use (car windows, bins, garden signs), expect longer life but not infinite life. Direct sun gradually degrades anything over enough time.
If you're selling stickers marketed as outdoor or weatherproof, laminate is essentially non-negotiable.
🫧 How do I laminate without getting bubbles?
Don't peel the whole backing sheet off at once. That's how you trap air and ruin the sheet.
Peel back about 1cm at the top. Fold the backing sharply. Align that exposed edge with the top of your printed sheet and press it down first. Then slowly pull the backing away while smoothing the laminate downward with a squeegee, ruler or old bank card.
Work top to bottom. Keep tension on the backing. Rush it and you trap air.
Any small bubbles that do appear can often be pushed out to the edge if you catch them within the first minute.
✂️ Can I cut laminating sheets before or after applying?
With self-adhesive laminate: both work. Most people laminate the full sheet first, then cut stickers out of it. That keeps your adhesive-to-print bond perfect.
With thermal pouches: always laminate first, then trim after sealing. Never cut a pouch before it's been through the laminator. Cut pouches leak adhesive and jam machines.
🤖 Will laminate affect Cricut, Silhouette or Siser cutting?
Yes. Laminate adds thickness, which means your cutting machine needs more force or more passes.
Cricut: for laminated vinyl, step up to Premium Vinyl Permanent Glossy or a custom material setting. Run a test cut first.
Silhouette: bump force up by 2-3 from your normal vinyl setting and consider a second pass.
Siser Juliet: our house settings for laminated vinyl are force 35-45 with 2-3 passes.
Reflective finishes (holographic, seasonal) can interfere with registration mark reading on Cricut. If your machine won't see the reg marks, cover only the reg mark area with matte tape before cutting.
✨ Which laminate finish should I choose?
Gloss: clear, shiny, high colour contrast. The standard choice for most stickers and product labels.
Matte: softer, no glare, reads more premium. Ideal for planner stickers, minimalist branding and photography.
Holographic: rainbow-reflective shift over your print. Transforms flat artwork into something that catches the light.
Glitter: fine sparkle over the print. Strong decorative finish, popular for kids' stickers and giftables.
Leather, cross-hatch, cat eyes: specialist textured finishes for when you want stickers to feel physically different, not just look different.
🏷️ Do I need laminate for product labels?
Not always. Dry, indoor packaging that gets handled gently is fine without laminate.
Laminate earns its keep on labels for oils, splashes, freezer storage, bathroom products, bottles, jars, candles, soap or anything touched daily. It adds scuff resistance, moisture resistance and a noticeably more premium feel.
If your product is premium-priced, laminate makes the label match.
⏱️ Can I laminate printed stickers straight away?
Yes. Ink is touch-dry within minutes of printing.
The 24-hour full-cure rule for ink only matters for unlaminated stickers exposed to water. Once laminate is on, the ink is sealed and moisture exposure is fine.
In practice: print, wait a few minutes for the ink to dry on the surface, then laminate whenever you're ready.
📏 What laminate thickness should I use?
Thinner laminate is easier to cut. Thicker laminate gives more rigidity and physical protection.
For sticker sheets, planner stickers and anything going through a Cricut, Silhouette or Siser, thinner self-adhesive laminate handles more gracefully.
For menus, signs, instruction cards, bookmark sleeves or heavily handled inserts, our 150 micron thermal pouches give you more protection.
📦 How should I store laminating sheets?
Store them flat, cool and dry. Keep dust away from the adhesive side. Any dust trapped under laminate shows up immediately and looks obvious.
Every Stickiply pack ships with greyboard inside. Slide unused sheets back in between runs so they stay flat.
Avoid radiators, direct sun and humid spaces. Warped or dusty sheets are frustrating to apply cleanly and are the main cause of wasted laminate.
💼 Can I use these for stickers I sell?
Yes. Our laminates are sold for commercial use. Markets, Etsy, online shops, wholesale, brand packaging - all fine.
The only restriction is on your artwork: you can't print and sell copyrighted characters or licensed designs you don't own rights to. The laminate itself has no restrictions.
🖨️ Does self-adhesive laminate go through a printer?
No. Self-adhesive laminate is clear protective film. You print your design on printable vinyl first, then apply the laminate over the top.
Laminate is the protection layer, not the print surface.